
Use ROS 2 blocks in Tactigon SHAPE to send messages, react to incoming data and inspect the nodes and topics discovered by your application.
This reference explains the purpose of each documented block and how it fits into a visual program. If you are new to the integration, start with Getting started with ROS 2 in Tactigon SHAPE
Publish messages to a ROS 2 topic #
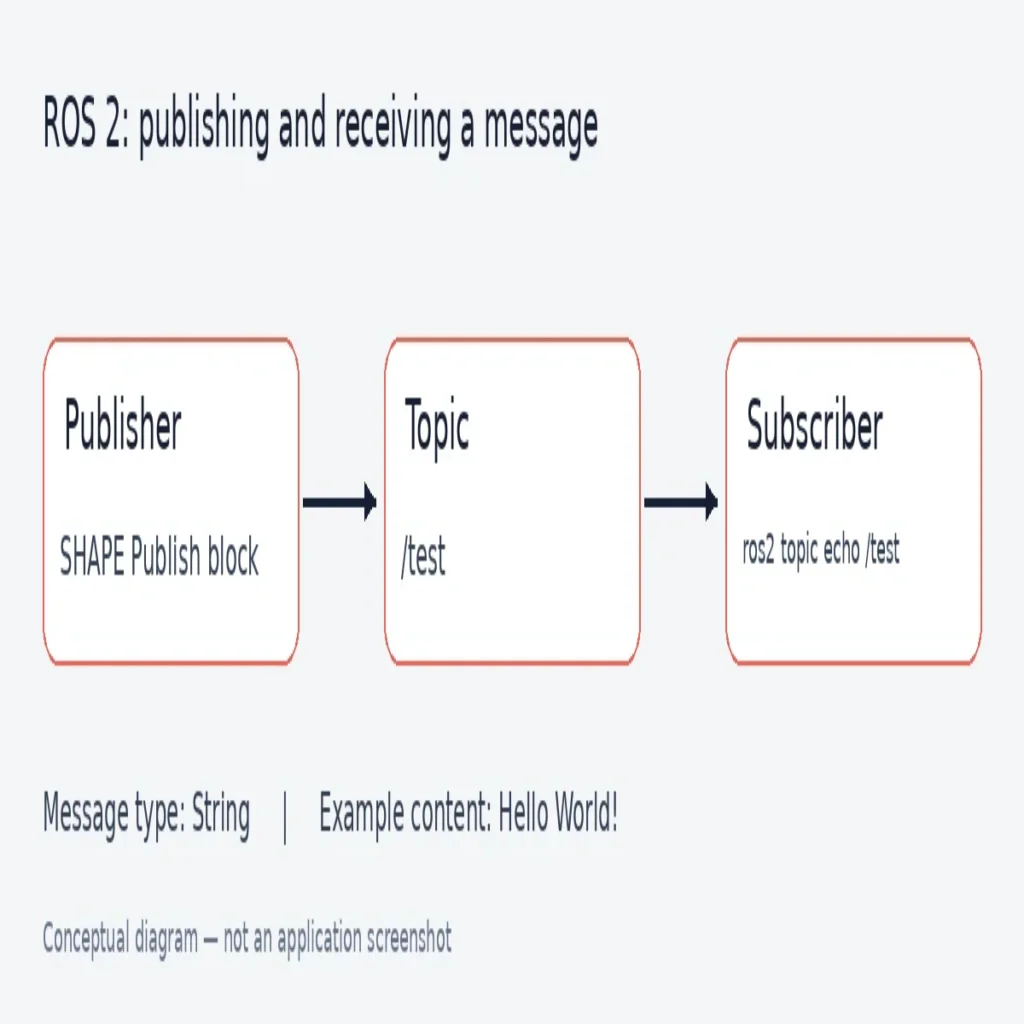
The Publish message block sends data to a named topic. Configure the destination topic and construct a message using the appropriate message block.
The documented message blocks include:
- String for text.
- Bool for Boolean values.
- Int64 for integers.
- Float64 for floating-point values.
The first tutorial uses this configuration:
| Setting | Example |
|---|---|
| Topic | /test |
| Message type | String |
| Message content | Hello World! |
Use the topic name and message type expected by the receiving application. In the documented example, the publishing block sits inside Loop.
For the terminal commands used to inspect the published message, return to Getting started with ROS 2 in Tactigon SHAPE.
Receive messages with On topic #
The On topic block listens for messages and triggers its associated logic when data arrives.
Configure two elements:
- Topic: the channel you want to receive messages from.
- Type: the message format used by that topic.
Received data becomes available through the payload variable. Use Get item to extract the field your program needs.
For example, the camera-tracking integration receives messages on /camera_tracking/pointing. Its logic extracts the marker’s id and stores it in a variable for subsequent decisions.
The available fields depend on the selected message type. Inspect that message’s definition before choosing which field to extract.
List discovered ROS 2 topics #
The List ROS 2 Topics block returns topic names together with their message types.
The documented result has this structure:
[[Topic1, TypeA], [Topic2, TypeB], ...]Use it to inspect which communication channels SHAPE has discovered. This is helpful when checking the topic name and type before configuring a publisher or subscriber.
List discovered ROS 2 nodes #
The List ROS 2 Nodes block returns the names of discovered nodes.
An example result from the documentation is:
['CameraTrackingNode', 'web_video_server', 'ShapeNode']Use this information to inspect the ROS graph visible to SHAPE.
A discovered node name shows that the node is visible to discovery. It does not, by itself, confirm that a camera, robot or other connected device is operating correctly.
Understand “ROS 2 Network is Ready?” #
This block returns a Boolean value based on the discovery behaviour documented for SHAPE:
| Condition | Documented result |
|---|---|
| Only default internal entities are visible | False |
| At least one external node or topic is discovered | True |
| No external entities are found after five seconds | Forced True |
Important: because the timeout can produce True without discovering an external entity, this block must not be treated as proof that hardware is connected or ready to move.
It can help a program progress through its initial discovery stage. Hardware readiness requires checks appropriate to the connected system.
Keep custom node deployment separate #
Adding a custom ROS 2 node also involves package files and Docker Compose configuration. That is a separate deployment task rather than a setting of the Publish or On topic blocks.
Consult the Adding Nodes to Shapes section of the technical documentation when you need to extend the environment.
Next steps #
- Return to Getting started with ROS 2 in Tactigon SHAPE to inspect a published message.
- Continue to Camera tracking and robotic arm integration for an application using incoming marker data.
See the official SHAPE ROS 2 documentation for the underlying reference.
o


